Who doesn’t love freshly baked bread? It’s like a “happy pill” to me from its inviting aroma which fills the house and lingers, to that much anticipated first bite of those hot-off-the-oven buns, who can resist eating just one?
Pandesal is one of my family’s favorite breads. If you search through my recipes, you’ll find a number of variations like the Easy Homemade Pandesal (the classic panaderya version), Whole Wheat Kale Pandesal, my Special Pandesal and my little one’s favorite, Ube Cheese Pandesal. All these are equally worth your time as I have tested and tried them all countless times. It just boils down to which would you rather have when that craving strikes.
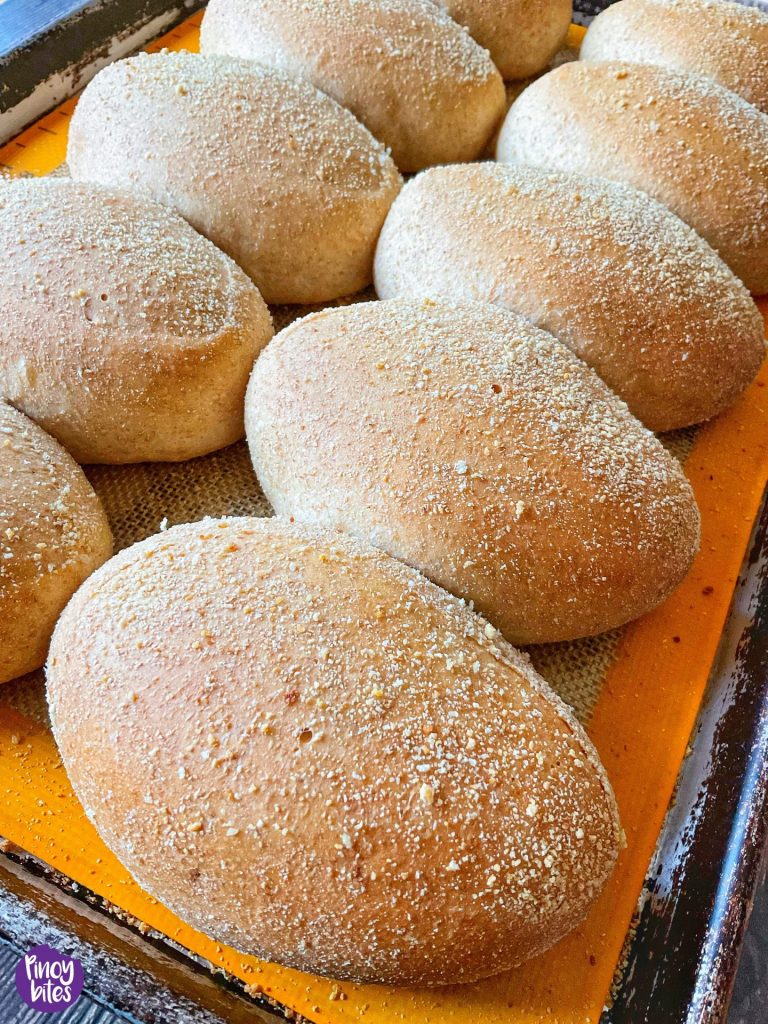
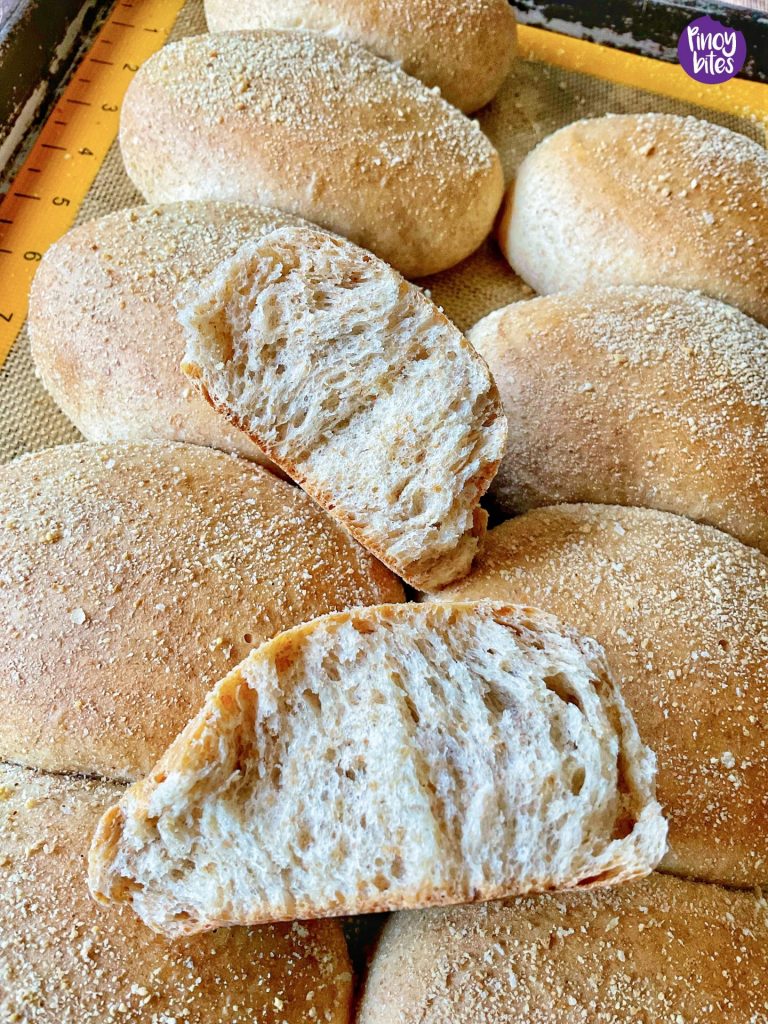
Creating a healthier version of the original has been at the back burner for a while. I wanted it to be 100% Whole Wheat, light, fluffy and stays soft until I eat the last piece. I knew it was an ambitious thought but I also knew that giving up wasn’t an option. There’s got to be a way to make this happen and not create buns like hockey pucks. After much testing, thinking and research (I’m also a busy mom so this didn’t happen overnight. Lol!), I remembered something I read which can work and it did. A couple more tests after that and now I can finally say, the quest is over! Now, we can enjoy THE BEST WHOLE WHEAT PANDESAL!
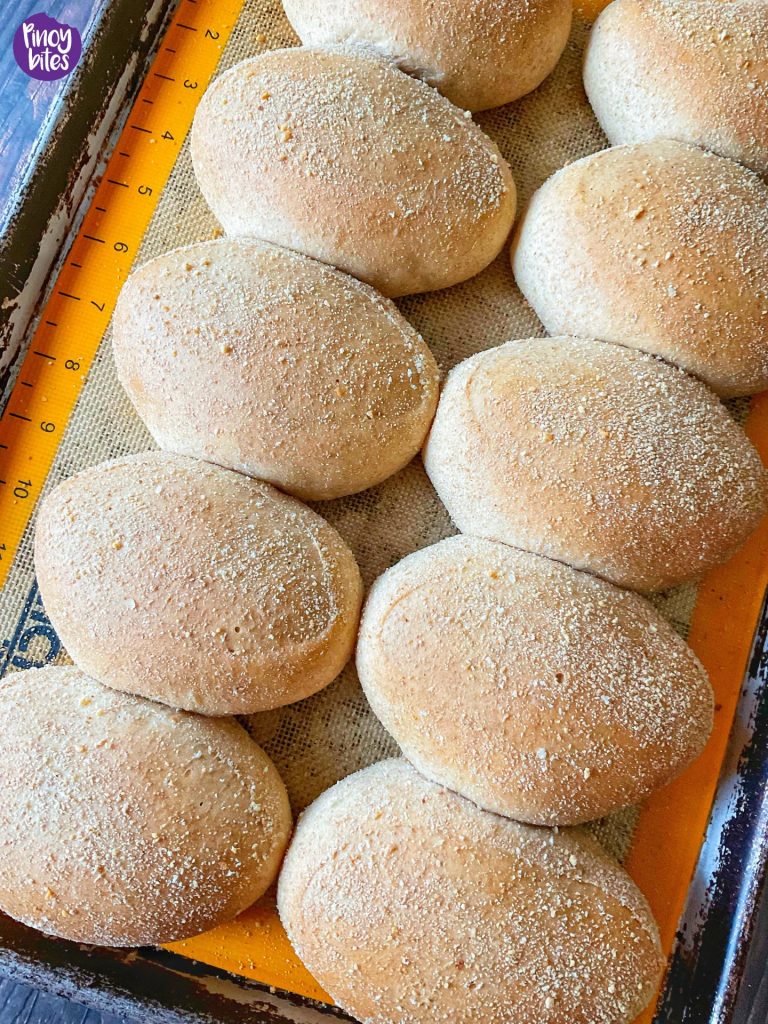
Whole Wheat flour is very different from all-purpose flour. It has a higher protein content, way healthier because it’s ground from the whole entire grain (bran, germ, and endosperm). It weighs less than all-purpose flour (so scoop lightly and scrape when measuring) but absorbs more moisture. The dough is denser so making it rise and producing a soft bread is tricky. Adding more moisture and resting the dough before proofing are two of the major factors that were crucial in the success of this recipe. Go easy in adding extra flour – the best way is to add ONLY so much for you to be able to handle the dough. Adding more than needed will make it hard and dry.
![]()
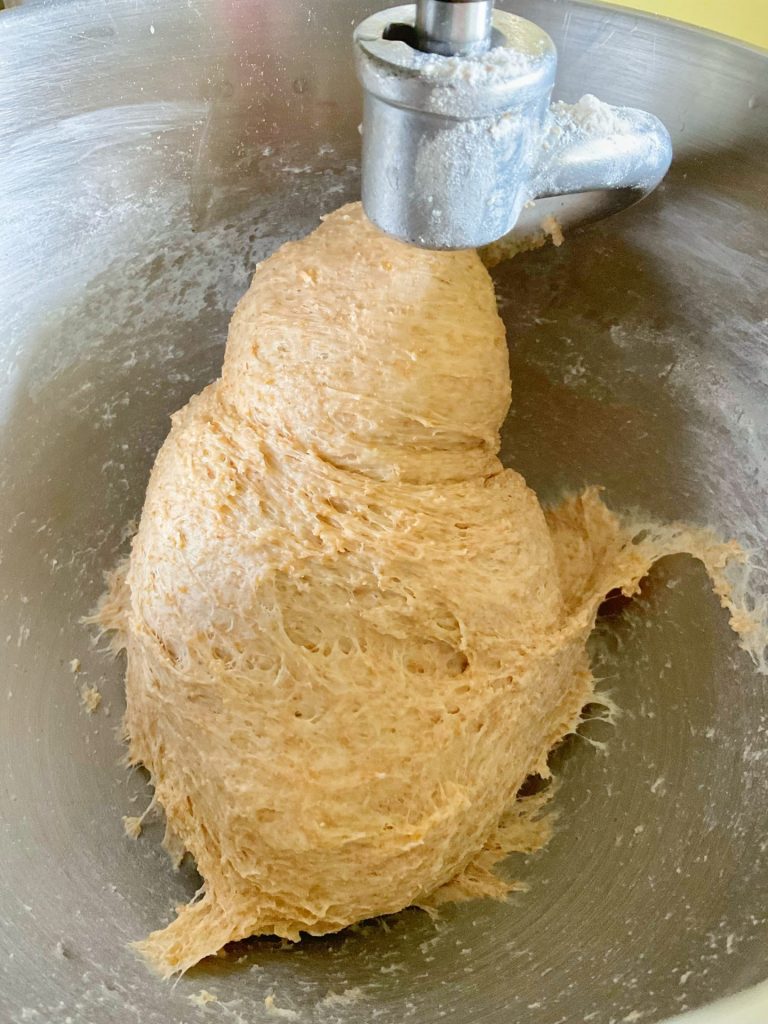
Dough will be soft and still sticky ![]()
Dump the dough on a lightly floured surface ![]()
Divide the dough in half ![]()
Flatten each one ![]()
Tuck the dough against itself to form a log ![]()
Pinch the seams and ends ![]()
Formed logs ![]()
Sprinkle breadcrumbs on cut sides
Follow the recipe below and you’ll be rewarded with a soft and moist pandesal that’s not only healthy but is so delicious. It may not work for some at first try and if it does happen, it’s okay and happens to the best of us. You’ll know when to STOP adding flour next time you do it, if it turned out harder or not as soft as expected.
![]()
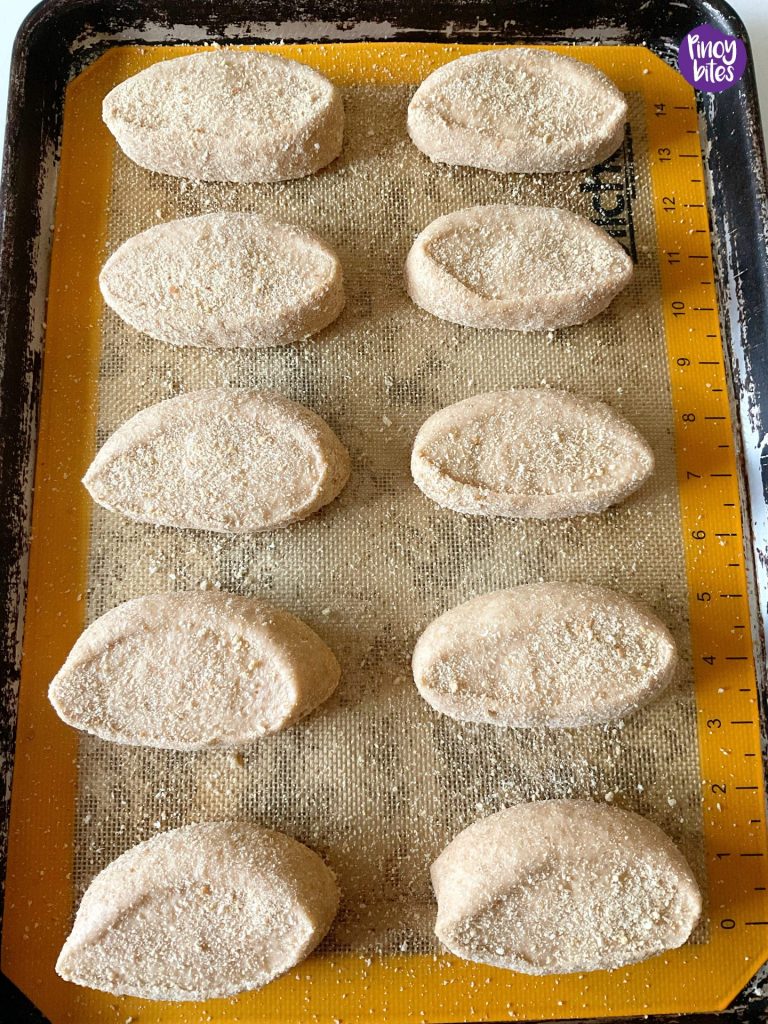
Before proofing ![]()
After proofing
Pandesal is a sweet bread and the amount of sugar I added is just perfect to my family’s liking. You can definitely add ¼ cup more or reduce a bit if you want it low on sugar. This won’t affect the texture. This recipe is a MUST if you love eating a LOT of pandesal (like me)! Enjoy!
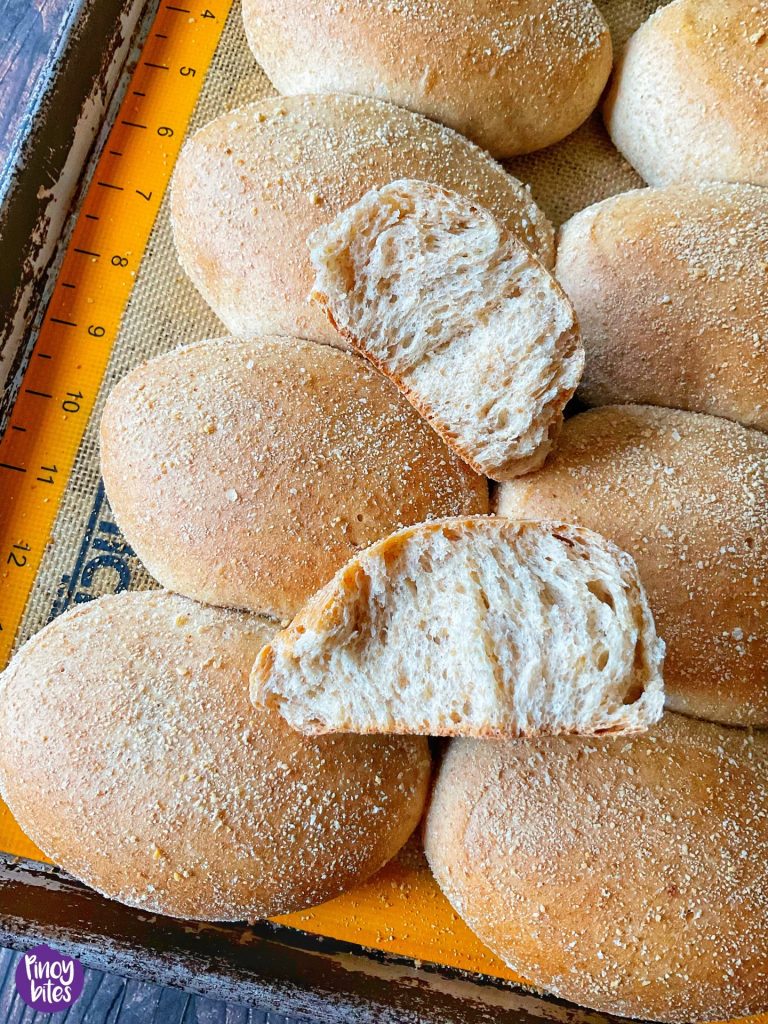
The BEST 100% Whole Wheat Pandesal (Soft and Fluffy)
Ingredients
- ½ cup warm water
- 1 ½ tablespoons active dry yeast I used Red Star
- 1 tablespoon sugar
- 1 ¼ cups warm milk not hot
- ½ cup eggs room temperature, beaten
- ⅓ cup oil canola or vegetable
- ¾ cup sugar add ¼ more if you want it sweeter
- 1 teaspoon sea salt
- 6 ¼ cups whole wheat flour (plus about ½ extra)* see NOTES
- Plain fine breadcrumbs for rolling
Instructions
- In the bowl of a stand mixer (I used a 6qt) with the paddle attachment, combine water, yeast and 1 tablespoon sugar. Mix and set aside to proof for 5 minutes.
- Add in the milk, eggs, oil, ¾ sugar and salt and 3 cups of flour. Mix until combined. Switch to the dough hook then add 3 ¼ cups of flour. Mix for two minutes, pausing once halfway to scrape any flour that cling to the sides . Remove the hook and cover with plastic wrap (or a damp towel). Let rest for 30 minutes to give the flour time to absorb the liquid. ** (see Notes)
- Knead with the dough hook (speed no. 2) for 5 minutes. Add more flour, 1 tablespoon at a time if it’s still too sticky. Dough will be soft and a bit sticky. Add the minimum amount of flour until the dough is manageable; adding too much will make the pandesal hard. (I used an extra 6 tablespoons). Cover and let rest for 1 hour.
- Dust a thin layer of flour on your work surface and place the dough on top. Divide in half and form each into a log by rolling (like a jelly roll). Tuck the dough against itself every time you roll then pinch the seams and ends (it will look like the shape of a baguette).
- Roll the logs of dough in breadcrumbs. Cover and rest for 10 minutes for easier cutting. Cut each log into 1 inch diameter (about 9 to 12 pieces each log), depending on how big you want them to be.
- Sprinkle the cut sides with breadcrumbs and place on a lined baking sheet. Give a bit of space between each one to make room for rising. Cover again and rest for 30 minutes.
- Preheat the oven to 300F. Bake for 20 to 25 minutes, depending on the size of your pandesal. To check for doneness, lift one bun and check if the bottom is nicely browned with some browning on top. Rest for a few minutes before consuming. Careful, buns will be hot!
- To store: Place completely cool buns in an airtight container (freezer bags work best!). I usually freeze some and leave the rest at room temperature in an airtight container. Mine stays soft for about a week. Bake in the toaster/oven for a few minutes (350F) until it has a nice crunchy exterior, about 5-10mins.





Hi,
I was wondering, how many bread does this recipe yield? Also, did you use white whole wheat or just the regular whole wheat flour? Thanks!
Ginalyn
Hi Ginalyn! This recipe makes 24 generous portions of pandesal. For the flour, I used the regular whole wheat. Hope you like it and sorry for the late reply. 😊