

I seldom have luck when buying salted eggs. It’s either too salty or the inside looked like it had been sitting at the store shelves for quite a while. Then, there are those uncooked salted eggs that came in a pack of 6. They’re relatively inexpensive but I refrain from buying food products (if possible) that travel a very long way. With food, the closer to where I’m at, the better. Besides, making these brined eggs is effortless. It’s the waiting game as it cures, is the part that I’m still getting used to …I’m not a very patient person. Haha!

Like I mentioned, the hands-on part is like child’s play. Just let it sit in a dark cupboard covered with dark cloth and let the salt do its magic for 3 weeks. It might take a while but trust me, it’ll be worth it! The white part is just salty enough and the yolk’s texture is pretty spot on as what you would expect in this perfectly cured egg. The only thing left to do after 21 days is to cook them as you would regular eggs (just slightly longer).
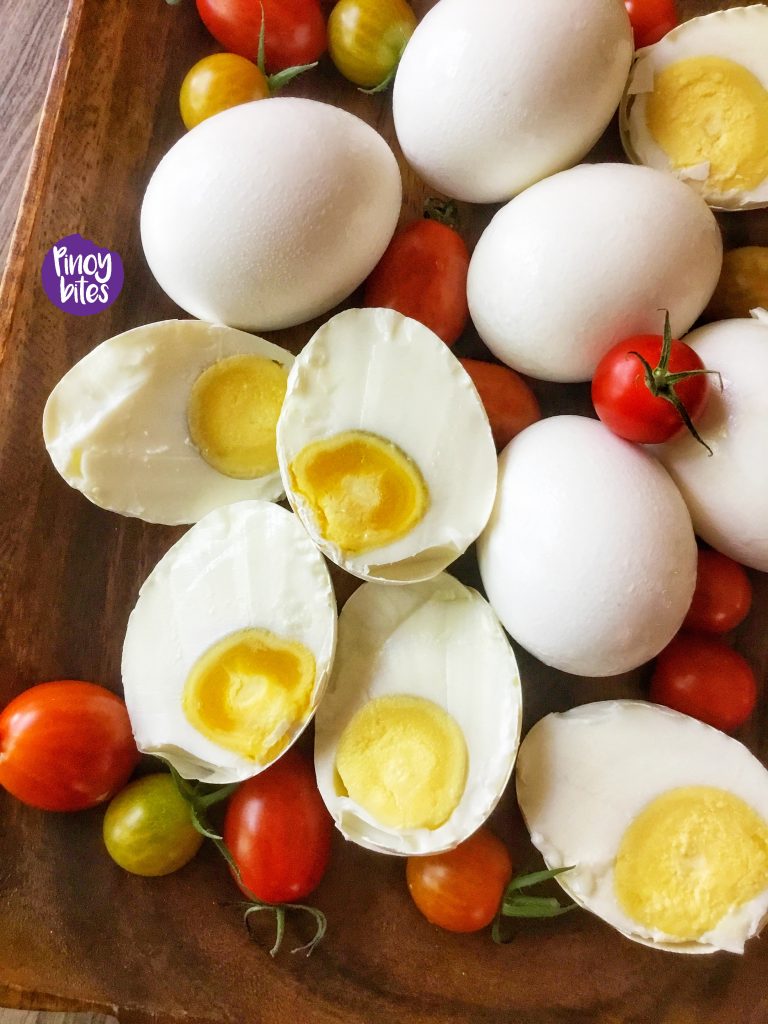
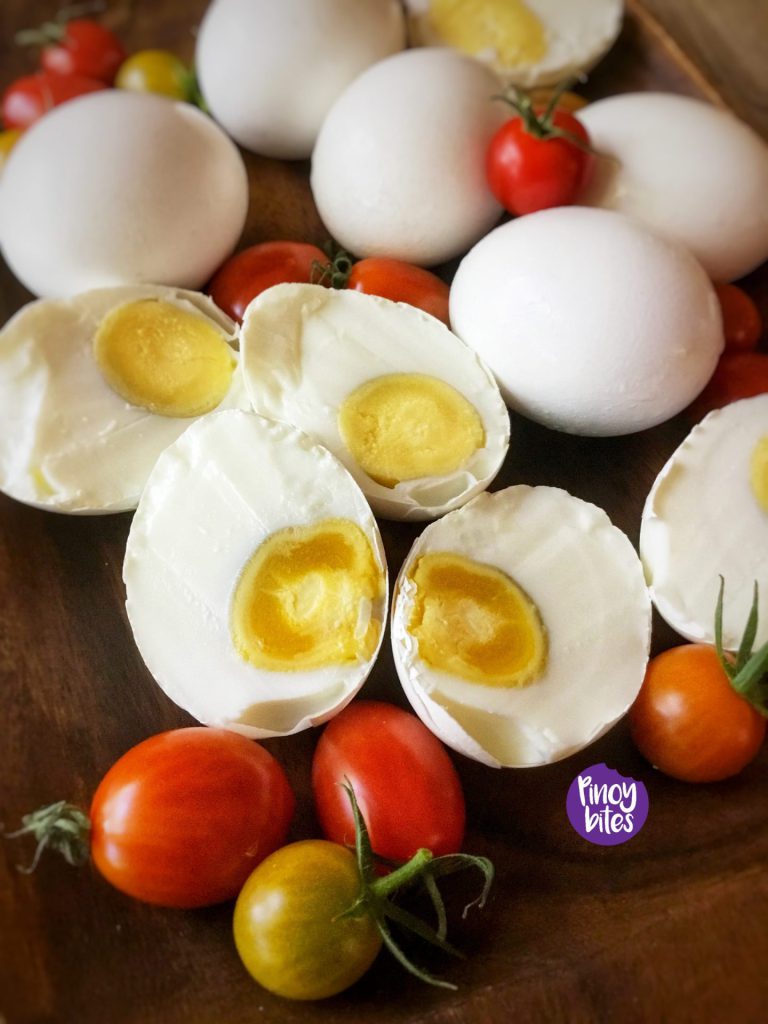
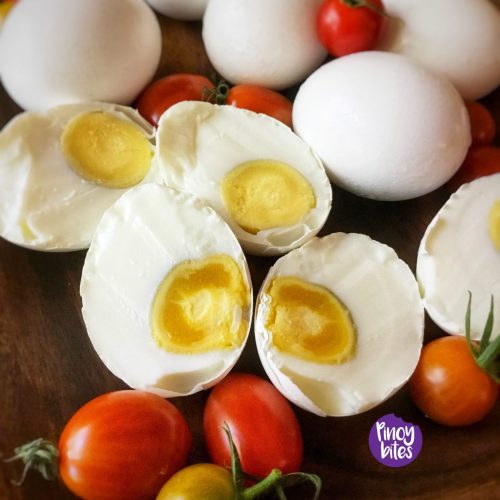
How do you eat your salted eggs? At home, I use it as a topping to my Special Bibingka or just simply cut up and served alongside slivers of fresh tomatoes. But one of my favorite ways to eat them is sliced on top of my Chicken Arrozcaldo. Oh sooo good! The first time I tried it served this way was when we were luckily upgraded to business class on our way back from the Philippines. It was perfect on my palate, especially with some freshly squeezed calamansi. Yum!
So, try it and never buy salted eggs ever again.
Easy Salted Eggs (Itlog na Maalat)
Ingredients
- 4 cups water
- 1 cup salt
- 12 large eggs raw
Equipment:
- Large jar with lid or any food-grade container enough to fit the eggs
- Dark cloth to cover the jar
Instructions
- Place the water and salt in a medium saucepan. Stir and simmer until the salt is dissolved. Turn the heat off and set aside to completely cool. This will be your brine.
- Wash the eggs and gently arrange inside the jar. Slowly pour in the cooled water-salt solution. The eggs have to be completely submerged in the brine. If not, or add about ½ – 1 cup of water inside a small ziploc bag and seal. This will push the eggs down. Cover the jar with the dark cloth and leave in the cupboard for 3 weeks.
- After 3 weeks, test its saltiness by placing 2 eggs in a small pot. Cover with water and bring to a boil on medium heat. Once boiling, cook for 15 minutes. Cut open one and try if it’s salty enough for you. If not, leave the rest in the jar and wait for another week before boiling,
Notes
*I used chicken eggs but if you prefer duck eggs, test one after 3 wks. You may need to add one more week because of its thicker shells